Yeapz! That's wat i baked today! Burnt Butter Biscuit!! Nono...if u are thinking that i was trying to bake butter biscuit and accidentally burnt it and hence the name, you are wrong! Please give me more credit ok? That was the name of the recipe..i jus followed accordingly. No idea why the name though.
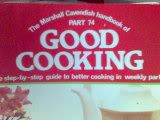
Found the recipe in 1 of the weekly magazine that mum used to buy! Its a really old book manz!
She have like piles of them stacked up in the cupboard. Inside the magazine, they have like detailed step-by-step instructions with pictures as guidance and the recipes are relatively simple! Was kinda flipping thru like 10 over of the magazine ydae, saw recipes of ice-cream, yogurt, cheese and other meat dishes which i dun think i will attempt at the moment. Finally found a magazine on biscuits! haha! Baking here i come!!!
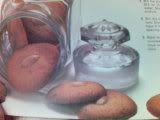
Found a real simple recipe! so simple that i was shocked! haha! Gif me the spur to bake once more! This is how the biscuit is suppose to look like according to the pic! After baking, i wonder how are they able to make the biscuit of such a nice shape?! They used a mould? Anyway, the pic showed an almond in the middle. Nope...i dun have almond in my cupboard..honestly, who will? so too bad! haha! My biscuits are gonna be almondless!!
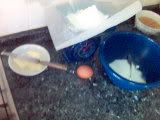
It's a real simple recipe! All you need is:
- 100g butter
- 100g self-raising flour (the correct measurement of flour is 175g!!!)
- 100g sugar
- 1 large egg
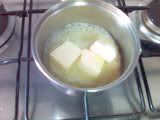
First... melt the butter in the saucepan. LOW HEAT!!! Please dun BURN your butteR! hehe! wait really end up "Burnt Butter" Biscuit! wahaha!
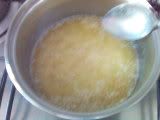
Heat the butter till it turns pale golden! Err... this part got me stumped! ( this recipe has no step by step picture guided instructions! :( ) Melted butter looks golden to me! Got a feeling the more i boil it...the darker it will get..so how am i gonna get my pale golden? So i kinda stopped once it was boiling vigourously.
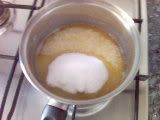
Remove the butter from the heat! Pour in the sugar! Stir!
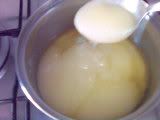
I thot the sugar was gonna melt in the boiling butter. Apparently not! I ended up with a pale yellow paste like thing swimming in yellow butter. made me worried for a moment.Anyway we will add like flour in the end, it will be ok. Leave it to cool.
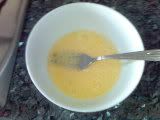
My nicely beaten egg to be beaten into the sugar-butter mixture.
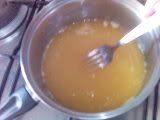
I jus poured the egg into the mixture after i was done with it! haha! i forgot i was suppose to be letting it cool. Once i poured it in, i was like "shit"! will i end up with cooked bits of eggs in my mixture? haha! luckily it didnt! I think the mixture was more or less cool after stirring in the sugar! This is how the mixture looked like when the beaten egg was beated into the mixture.
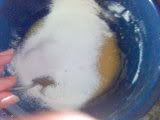
My next step! To gradually beat in the sifted flour into the mixture!
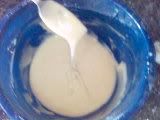
This is how the final mixture looks like after stirring in all the flour!! A thick consistency! It was really quick! like 20 mins and i am ready to head for the baking sheets!
As usual....the mess! Sugar and flour all over the table!
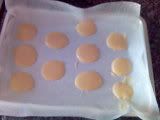
Teaspoon of mixture on the baking sheet! All ready for the heated oven (180 deg)
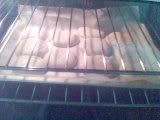
AHh!! Expanding in the oven again! i thot i dropped very small spoonfuls already!
Instructions: Bake for 12-15 mins in the oven until golden!
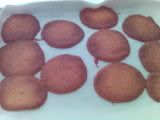
Out of the oven!!! SMells good!! It looks kinda thin though. Doesnt seem to be so from the picture. I was worried of another failure. More instructions: Allow to firm for 2 mins before transferring to cooling racks!
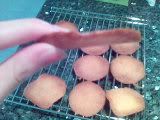
On the cooling rack! I was eager to try it out! Oh my! yummy yummy! with a piece of almond nut, it will taste like perfect!!! MMmm!!!
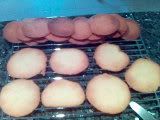
The 3rd batch colour looked kinda nice! so decided to take a pic! no no..i didnt burn my first few batch! it was suppose to be of that colour wat!
Mum gave me thumbs up for the biscuits today! SHe likes it! Dad nodded after i gave him a small piece! My sis jus went ahead and munch munch munch! haha! Its a wonderful feeling! esp since it was a relatively simple recipe! I will definitely do it again! haha! Mum already sae she will go and buy almond for me from the market! hehe! I think i gonna put almond flakes instead of half an almond! It's a good day! *grins*
Old books are good stuffs right?! I gonna go thru the old magazines more often! I only went thru a pile...there are like 2 more piles of them! :) ! Hope i dig out more yummy and simple recipes!
PS. i can blog direct thru photobucket now! more convenient!!
No comments:
Post a Comment