Dug out another old magazine. Forgot to take a pic of it and at this hour, i am jus to lazy to take, transfer and upload it. I am sorry if this post sounds a bit dull. Kinda dead. I started baking at 9 because i was so bored and there was nothing to watch on tv. I cant believe i actually have an urge to bake. heez!
This is suppose to be an easy cake recipe because like its name suggest...you jus throw in everything at 1 go and mix...bake it and there u go! a Cake! :)! Steps are as follows:

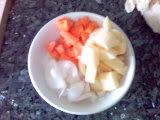
Here are the required ingredients:
- 175g of self-raising flour
- 5ml baking powder
- 175g of caster sugar
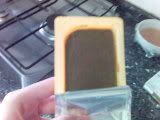
- 175g of soft magarine ( I used butter)
- 3 medium-sized eggs
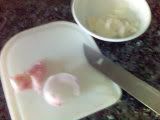
- 1 large lemon

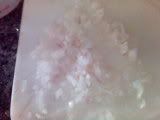
Got to grate the zest of the lemon. The grater hole too small. I got to grate so long but like come out so miserable amt of zest. Love the fragrance!

Sift the flour and baking powder into a large mixing bowl.

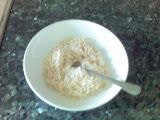
Throw in everything! Literally! Ok...throw in the lemon zest, 1 tablespoon of lemon juice, the 3 medium eggs and the soften magarine. Kinda look like a big mess to me...:P!

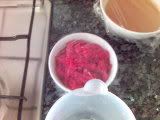
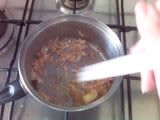
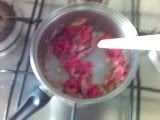
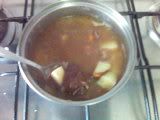
Now u gonna beat everything until glossy and light. Before and After photos to let u visualise the contrast the initial and final mixture. I am getting strong! I must learn to beat with my left hand, its really good exercise for the arms! Cant jus let the right hand benefit from it all, right?

Now the mixture is ready, grease and line yr cake tin(18 cm deep round). Its really easy to line the tin. First put the baking sheet on top of the base of the cake tin. Try to cut a slightly larger circle than the base. Line the sides first, using the butter to stick it to the tin. Then add the base that u have cutted out. There u have it! Pour in yr mixture!

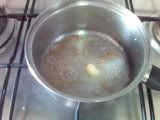
Now that mixture is all in the cake tin, bang the tin a few times on the table. I learn this on tv! It is suppose to make sure mixture is compact on the tin and prevent air bubbles. I oso shake the tin a bit while banging, jus thot it will be more even.

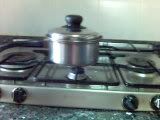
Cake in the oven! Bake it in a heated oven at 170 deg celcuis for 1 1/4- 1 1/2 hour until its cooked!
So wat i do in that hour?
Clean up all the mess lo! SO meesy! I hate cleaning up! Watched a bit of "Da chang jing" with mummy, quite exciting the show manz! ANd took a bath. Its a warm nite! Perspiring all over!
Even after all that, still have loads of time left! So long! Make sure u bake this only when u have loads of time okie?
FInally....the oven alarm rang! After 1 1/4 hour!

Went to take a satay stick to check if my cake was cooked! Its easy to check! Jus take the stick and poke the centre of the cake and if the stick is clean, it means yr cake is cooked! yeah! dun have to wait longer!

My cake! *beams* Look a bit char ta at the the top hor? Still dun exactly noe how to control the oven. Let it rest for 3 mins before transferring to the cooking rack! Be careful! Use glove! Its hot!

Easiest way to cool the cake. Put the rack on top of the cake and turn both over and remove the tray and tadah! the base of yr cake facing u le! hehe! Remove the baking sheet!

Look at the nice base of my cake! U cannot cut hor! Must wait for it to cool! Until the centre cool! Cannot b anxious to eat! Else it will crumble alot and it isnt good for yr throat. Completely cool ok my frn? else it be a bit soft and wet!

Mum teased me that she was waiting to see how my cake will turn out to be when i cut it. SHe was scaring me that it will have many holes ( air bubbles...unsuccessful). Wahaha! Look at the pic! She was impressed! haha! I am her dotter! i cant be that bad right? It looks sanely like a cake!!!
Tips on storage: make sure yr cake is completely cool before storing them in a dry tupperware else it will end up soggy and spoil easily. Advice (more like nagging) from mummy! hehehe!
Verdict: Yes! my first successful cake! Taste sanely like a cake! But i was disappointed that there wasnt much lemon taste to it! I guess the zest wasnt enuff (must use a different grater enxt time) and put more lemon juice! Suppose to be a cake with icing but i omit that step. Firstly its tedious and second, its so yesterday! Taste like butter cake! Not bad! U guys shld attempt it as your first cake! It kinda boost my morale for more cake baking in future.